

I constantly get the question from new photographers about how they can take their photography to the next level. My response is “Understand Light”. Although it sounds like a cliched response, probably the most repeated tip on photography blogs, it is also the most useful and honest tip anyone into photography can get. Learning how to use light, both natural and artificial, can help you elevate your photographs. I started shooting professionally towards the end of 2012. For a good part of the initial years of my photography, I stayed away from artificial lighting. Although I did use a lot of bounce flash and a little bit of Off Camera Flash once in a while, I was always a little wary of experimenting with strobes. Mainly because back then good strobes were expensive and bulky. Since most of my shoots are done outdoors there were not too many options at that time for battery operated strobes with good power. Also, it was limiting to shoot within the flash sync speed at all times, especially outdoors. And then I came across Godox ADxxx series of lithium-ion battery-powered strobes packed with great power, producing outstanding professional quality light, supporting higher sync speeds at value-for-money pricing. I am no expert on artificial light. But since I got the Godox AD200 and AD600, I am making a conscious effort to learn and understand artificial light. I plan to share my experiences and learnings here so that it becomes easy for anyone who wants to learn using artificial lights.
Let me clarify a few myths on using artificial lights:
My favorites among the vast set of lights under Godox brand are the AD200 pocket flash for its versatility & portability and AD600 for its beautiful light and power packed goodness. Godox, a few months ago, came up with the pro version of AD600. What was already an amazing product was improved further in design, color accuracy, and light quality. Offlate, I have been using the new AD600Pro in all my Portrait Sessions. Both indoor and outdoor, and I honestly love it.
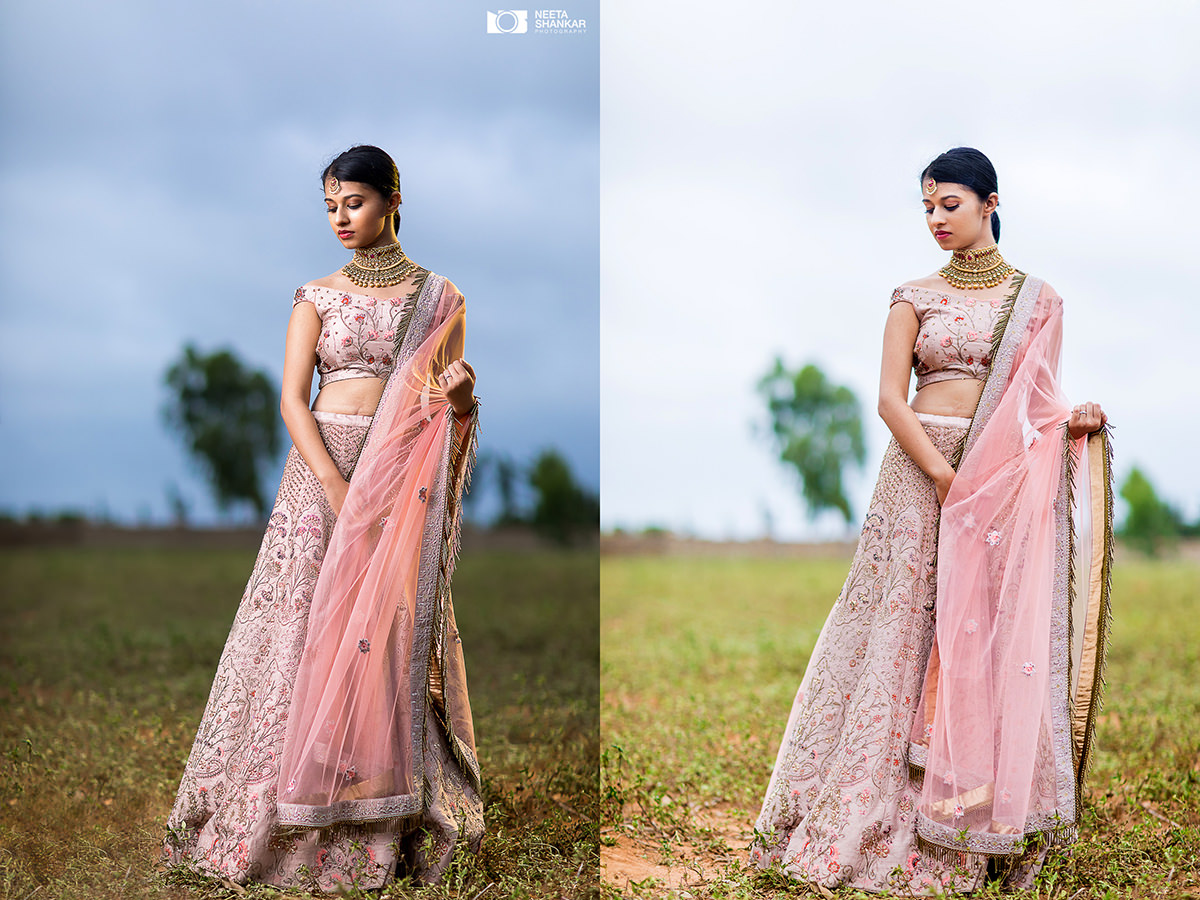
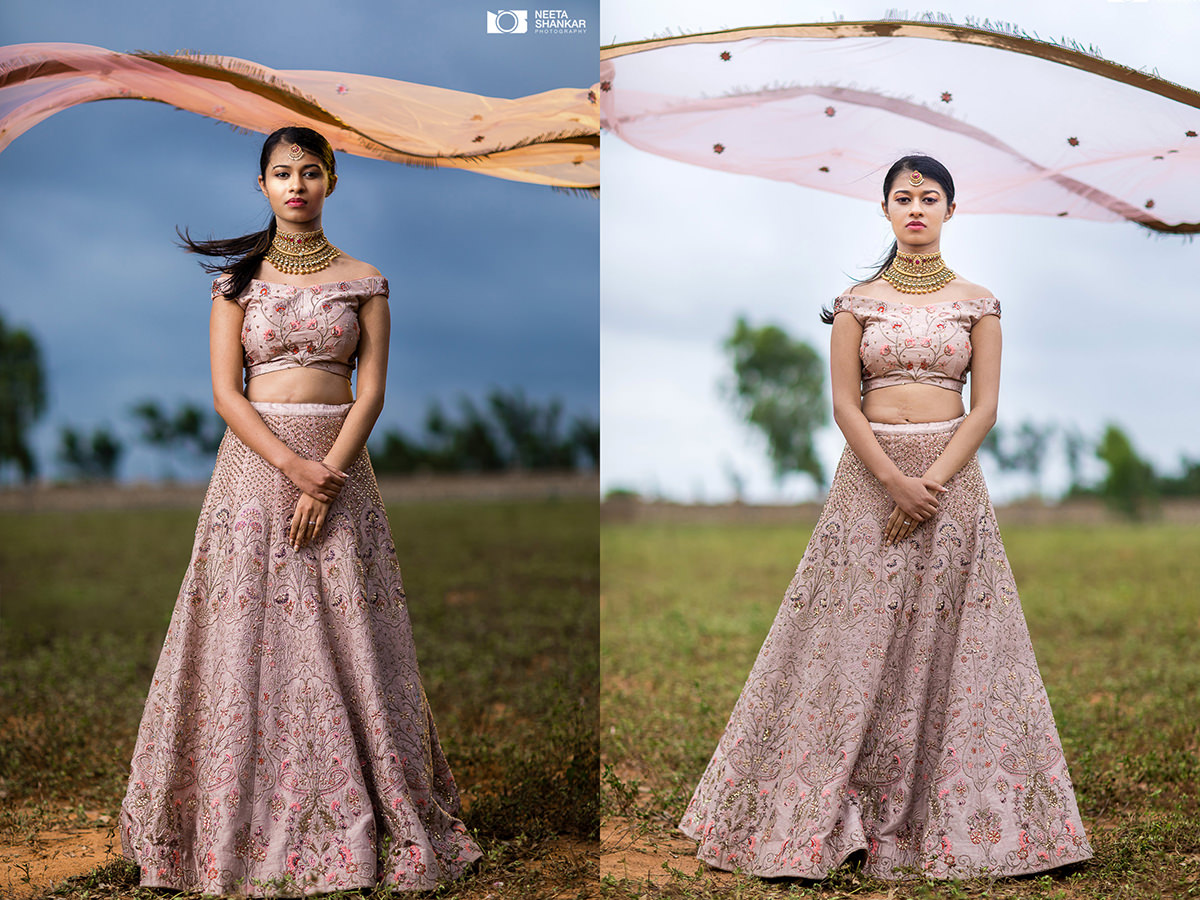
When we had to create some beautiful portraits of bride-to-be Shifali, I had just received my AD600Pro and I wanted to try it out. We initially chose a resort near South Bangalore for the shoot. But on the morning of the shoot, when I woke up to beautiful bluish-gray clouds in the sky, I immediately wanted to create a stark contrast of the beautifully lit model against the horizon. So, we moved the shoot location last minute to this open landscape a little distance away from our studio. We had come across this place on one of our location scouts. There was nothing very great about the place, just an open field with the horizon visible in the distance. But, on this day with dark clouds in the sky, it would look just right! When we reached there for the shoot, it was so windy, even at 10 in the morning, that it took a lot of effort from the team to even keep the light stands stable on the ground. Luckily, since we wanted to make a BTS video, we were 4 of us and that certainly helped. With light stands swaying in the wind, hair flying, dress not sitting in place, it was a hard and slightly frustrating shoot in all. What would ideally take us a couple of minutes to set up, took forever. But now when I look back at the beautiful images we managed to make, I am happy we chose that location. Because that’s exactly the kind of look I set out to achieve. I wanted to create beautiful light on my subject while using shallow depth to isolate her from the background. All Godox flashes support High-Speed Sync (up to 1/8000th of a sec) which is very crucial to shoot with shallow depth in broad daylight. Also, since we were in an open field and were shooting well into the daylight and not in wee hours of the dawn, we used Godox AD600Pro as 600Watts of power can help in overpowering sunlight (although with HSS turned on, you are losing quite a bit of power).
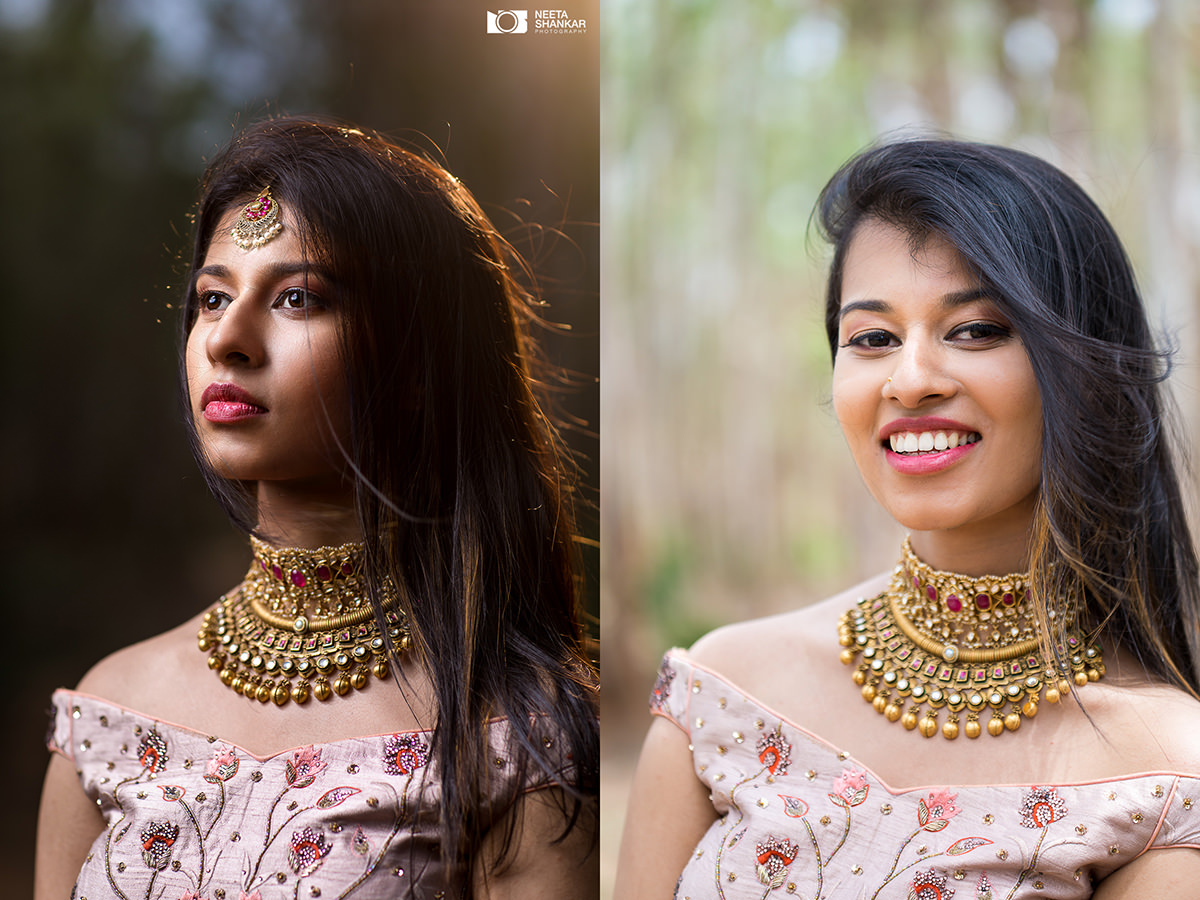
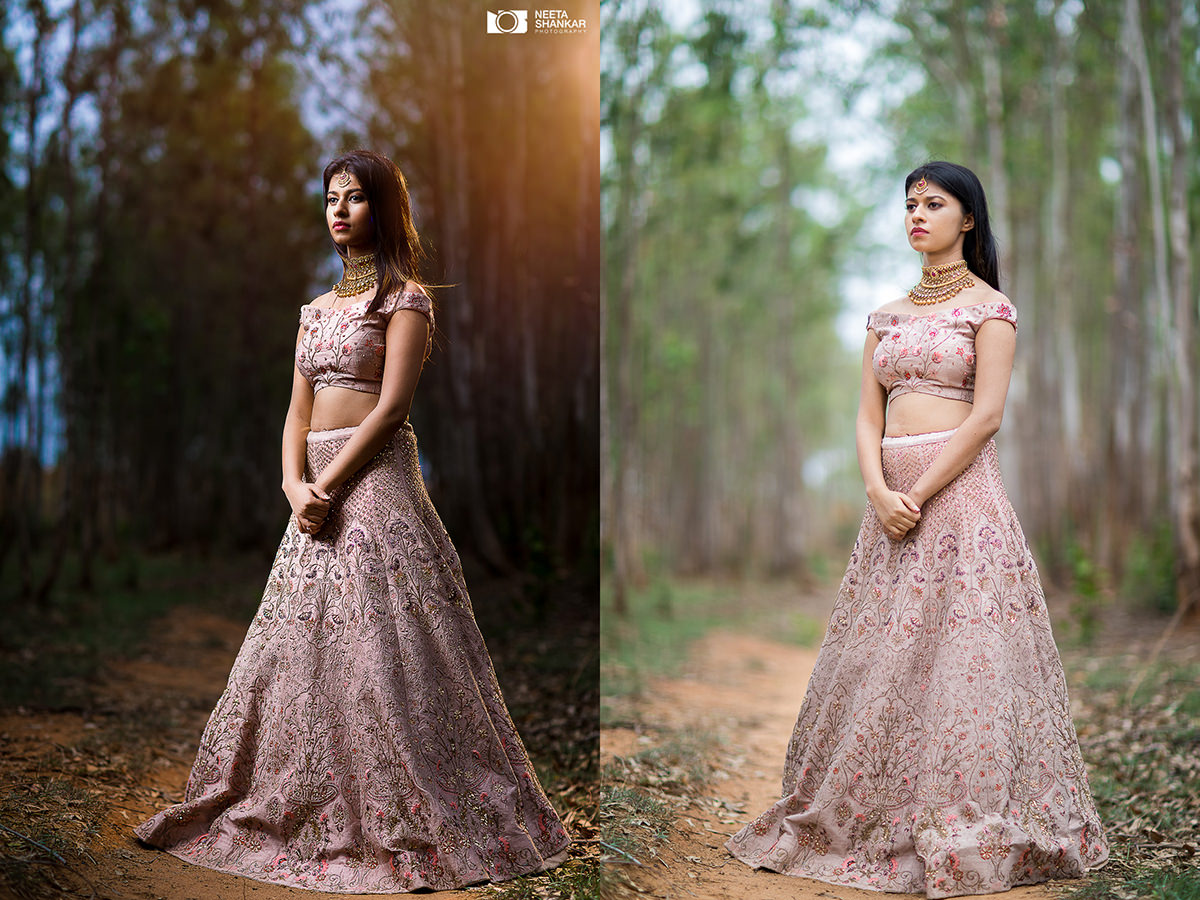
Below are some of the pictures we made that day using AD600Pro as the main light. Let me know in comments if you would like to see the BTS video.
Equipment used:
Godox 120cm Parabolic Softbox P120H
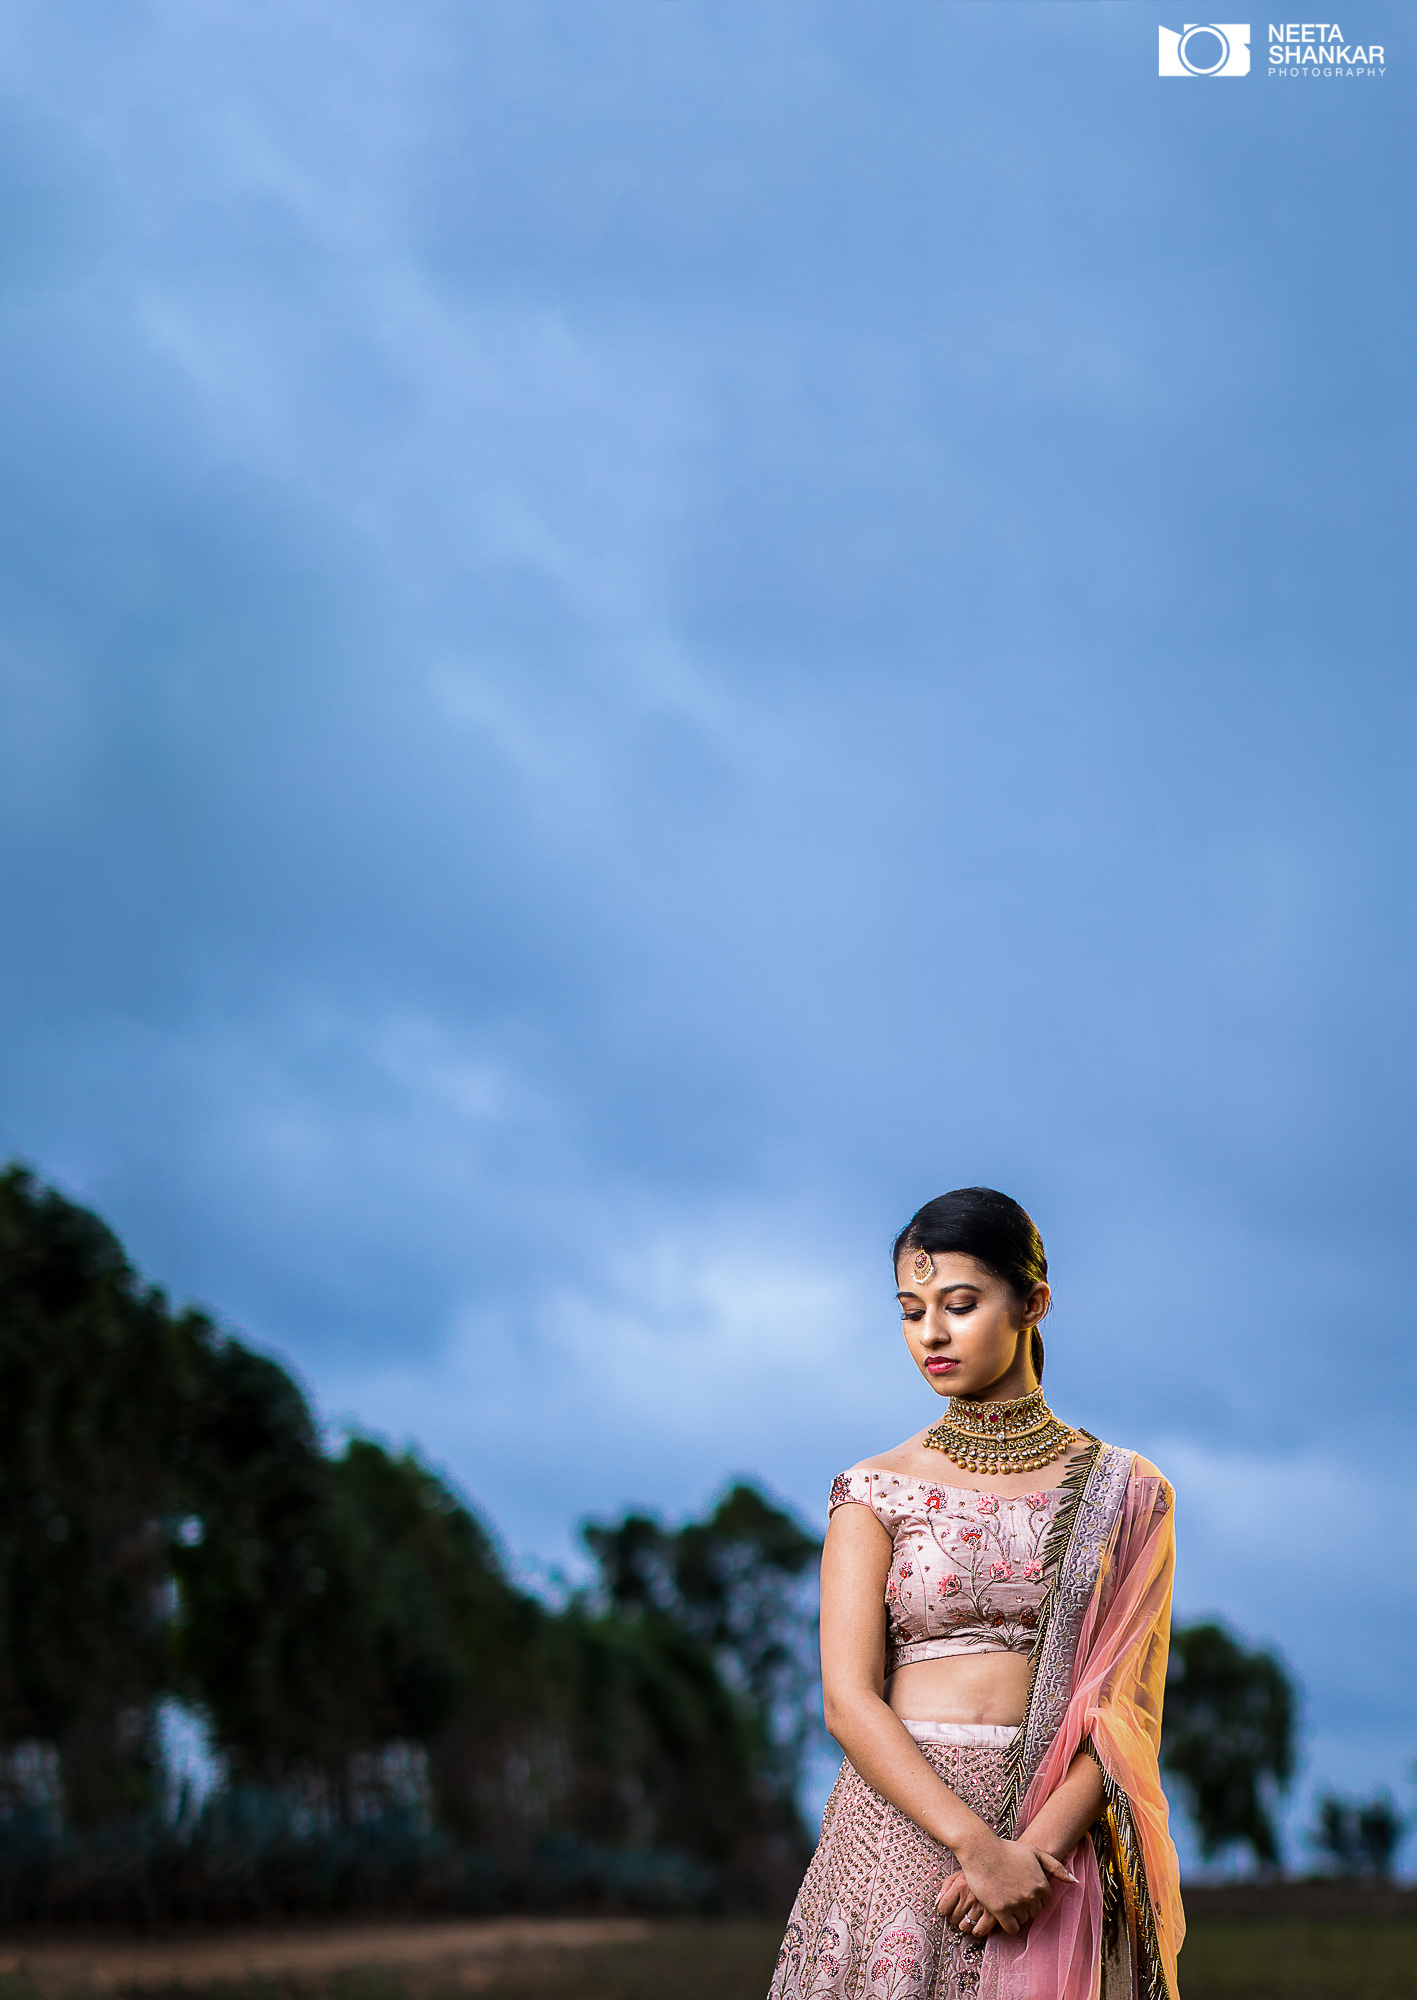
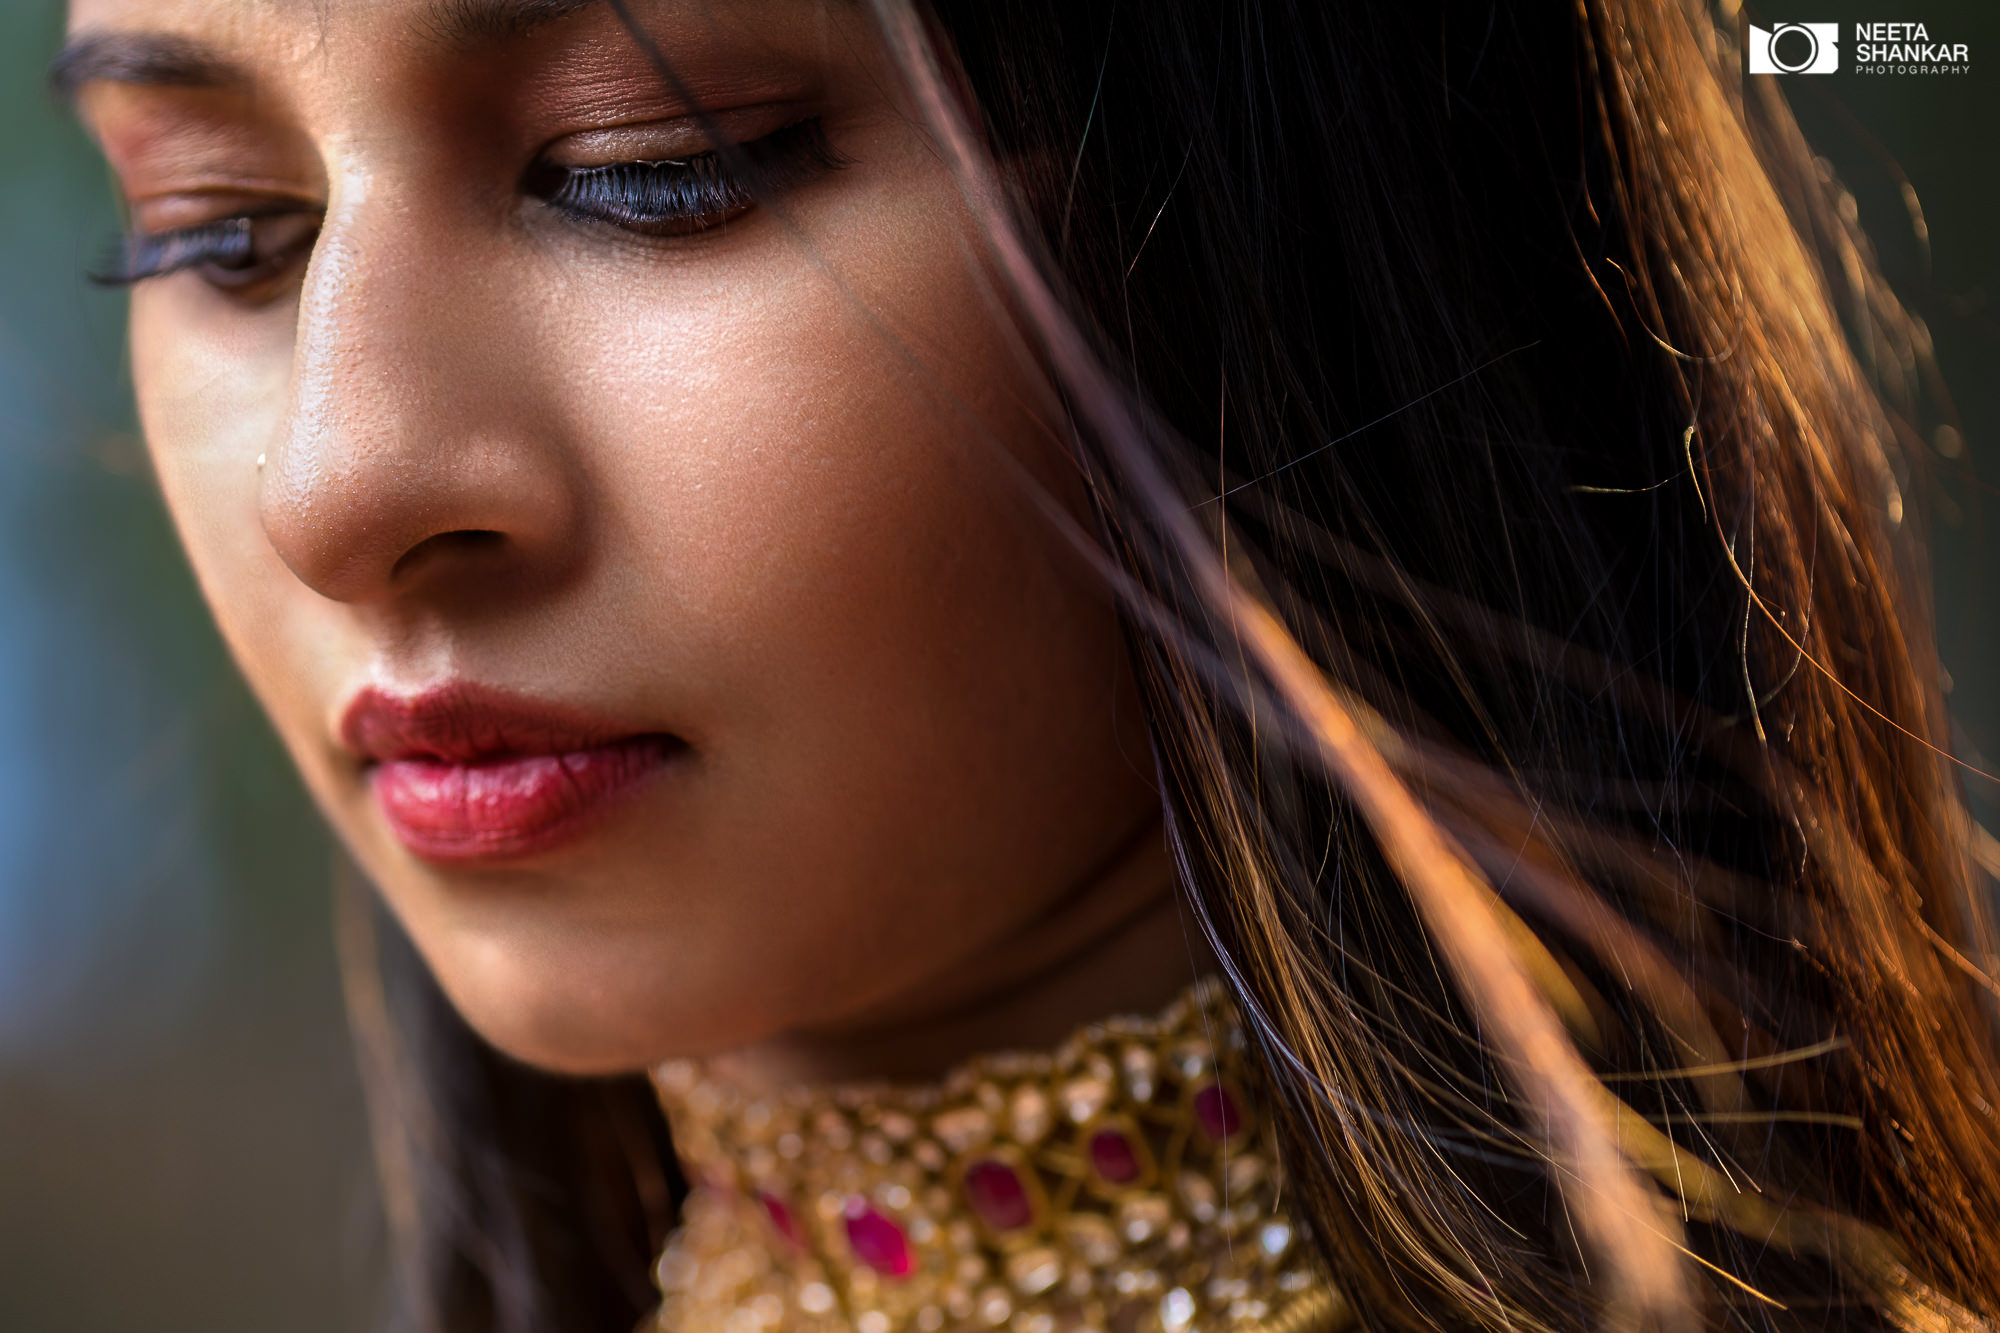
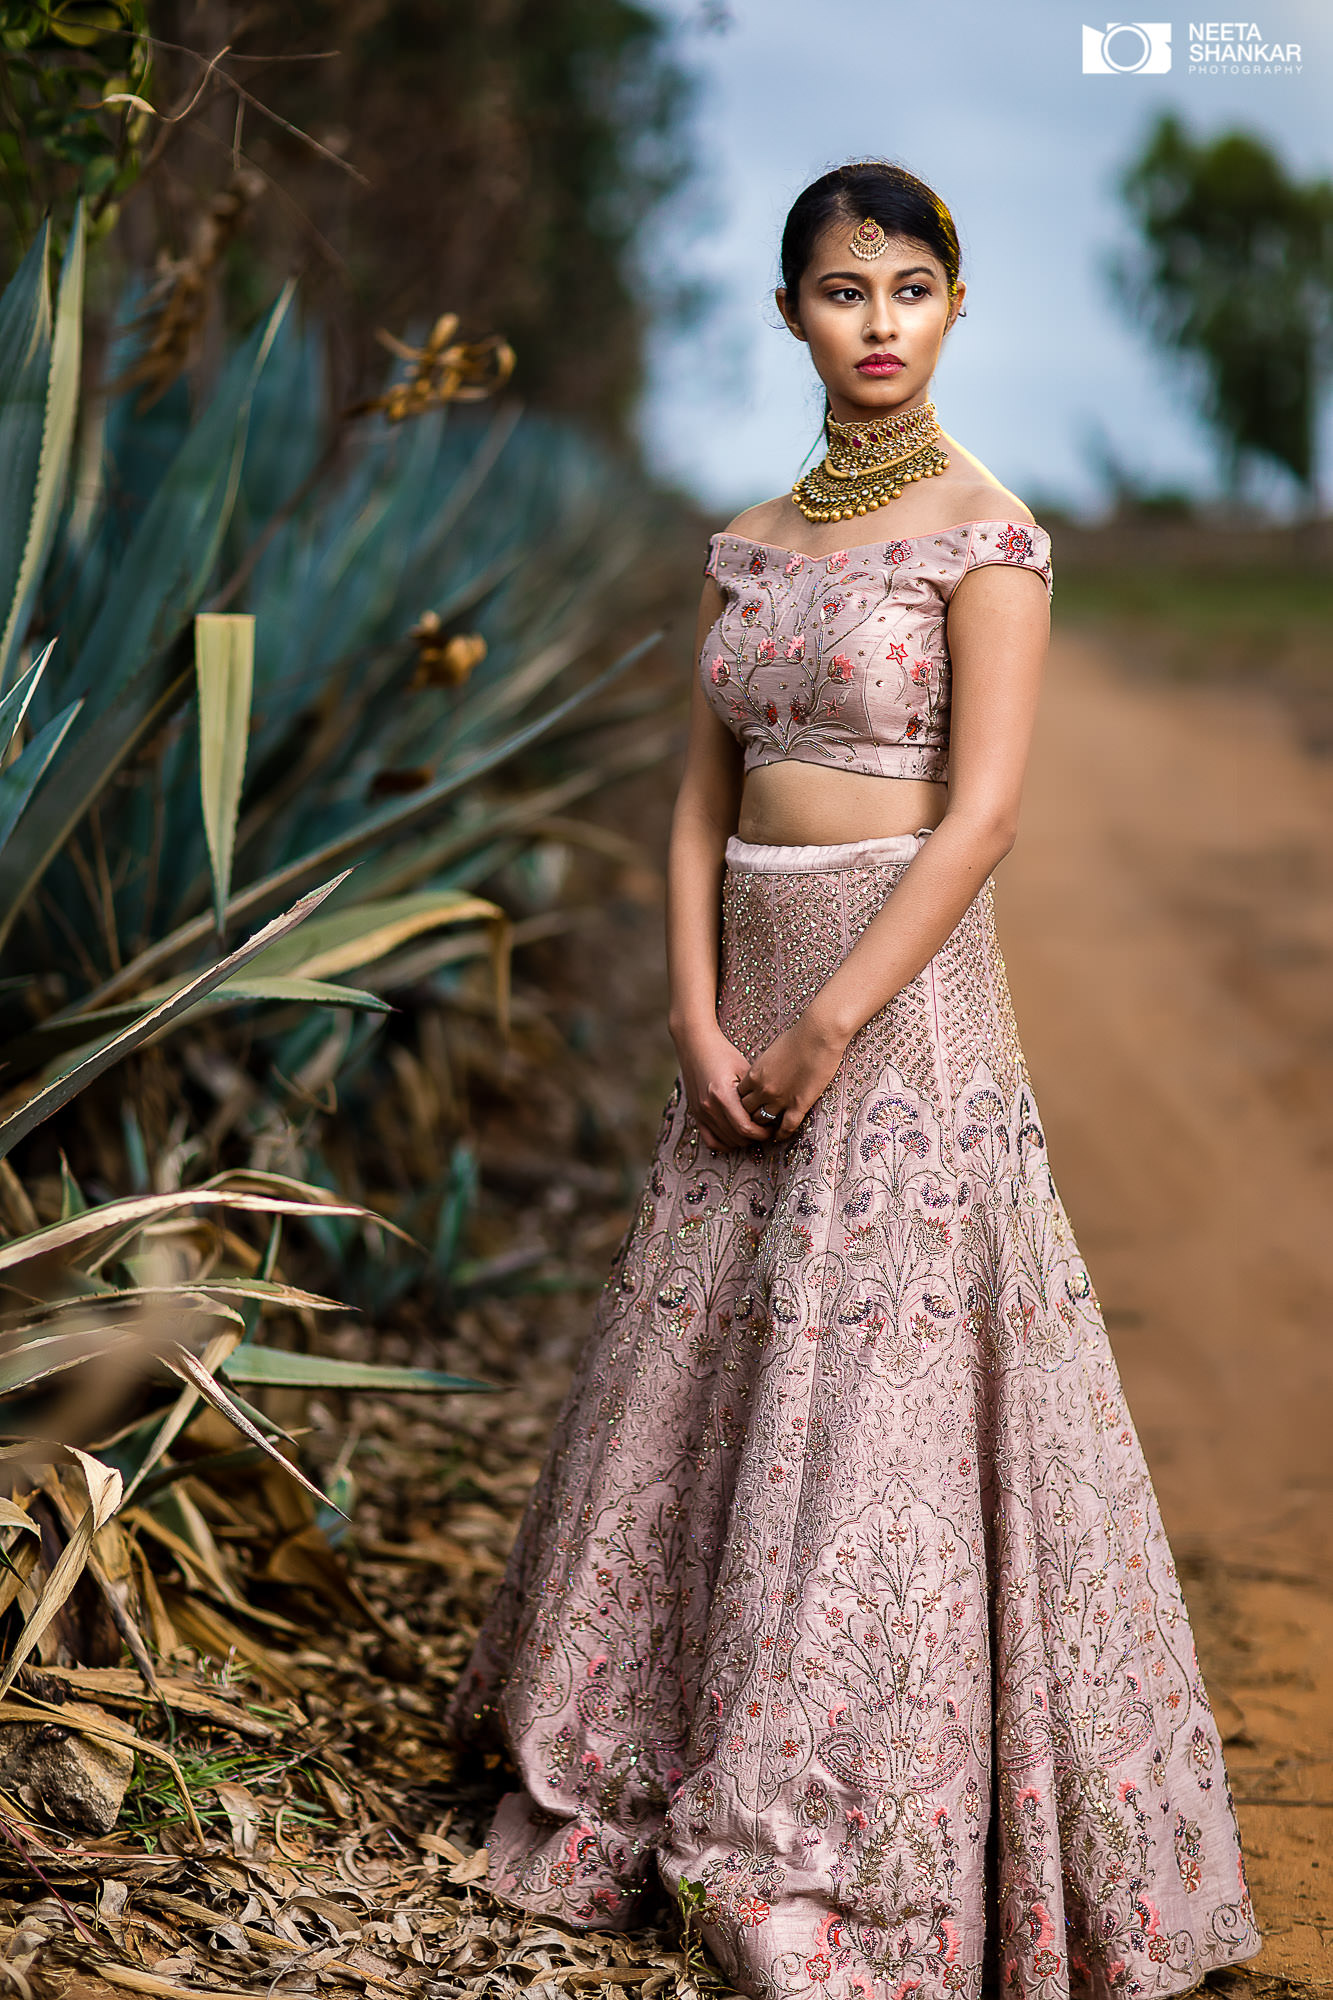
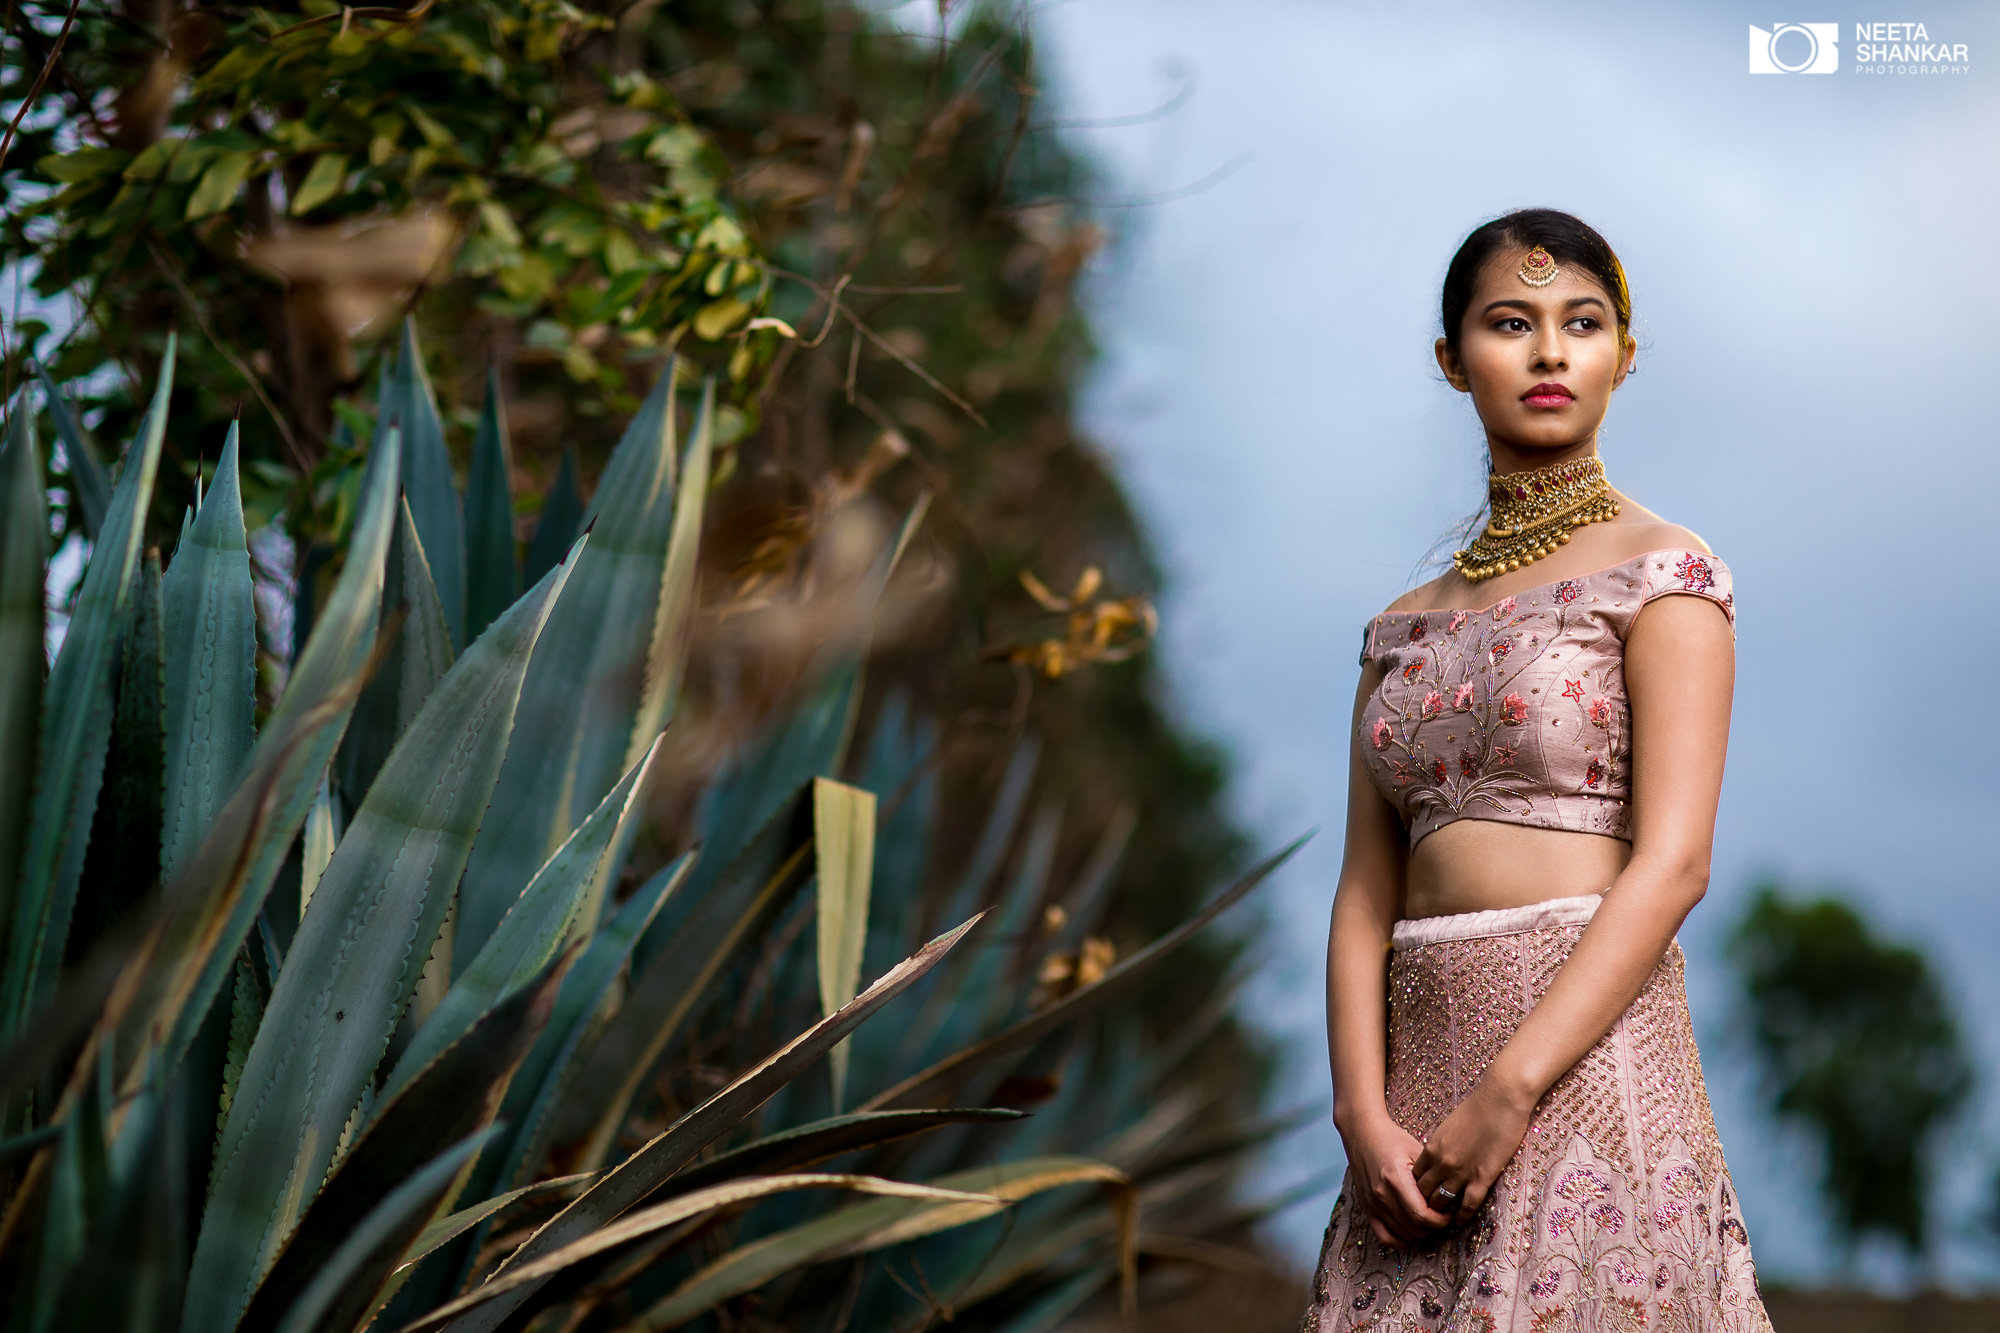
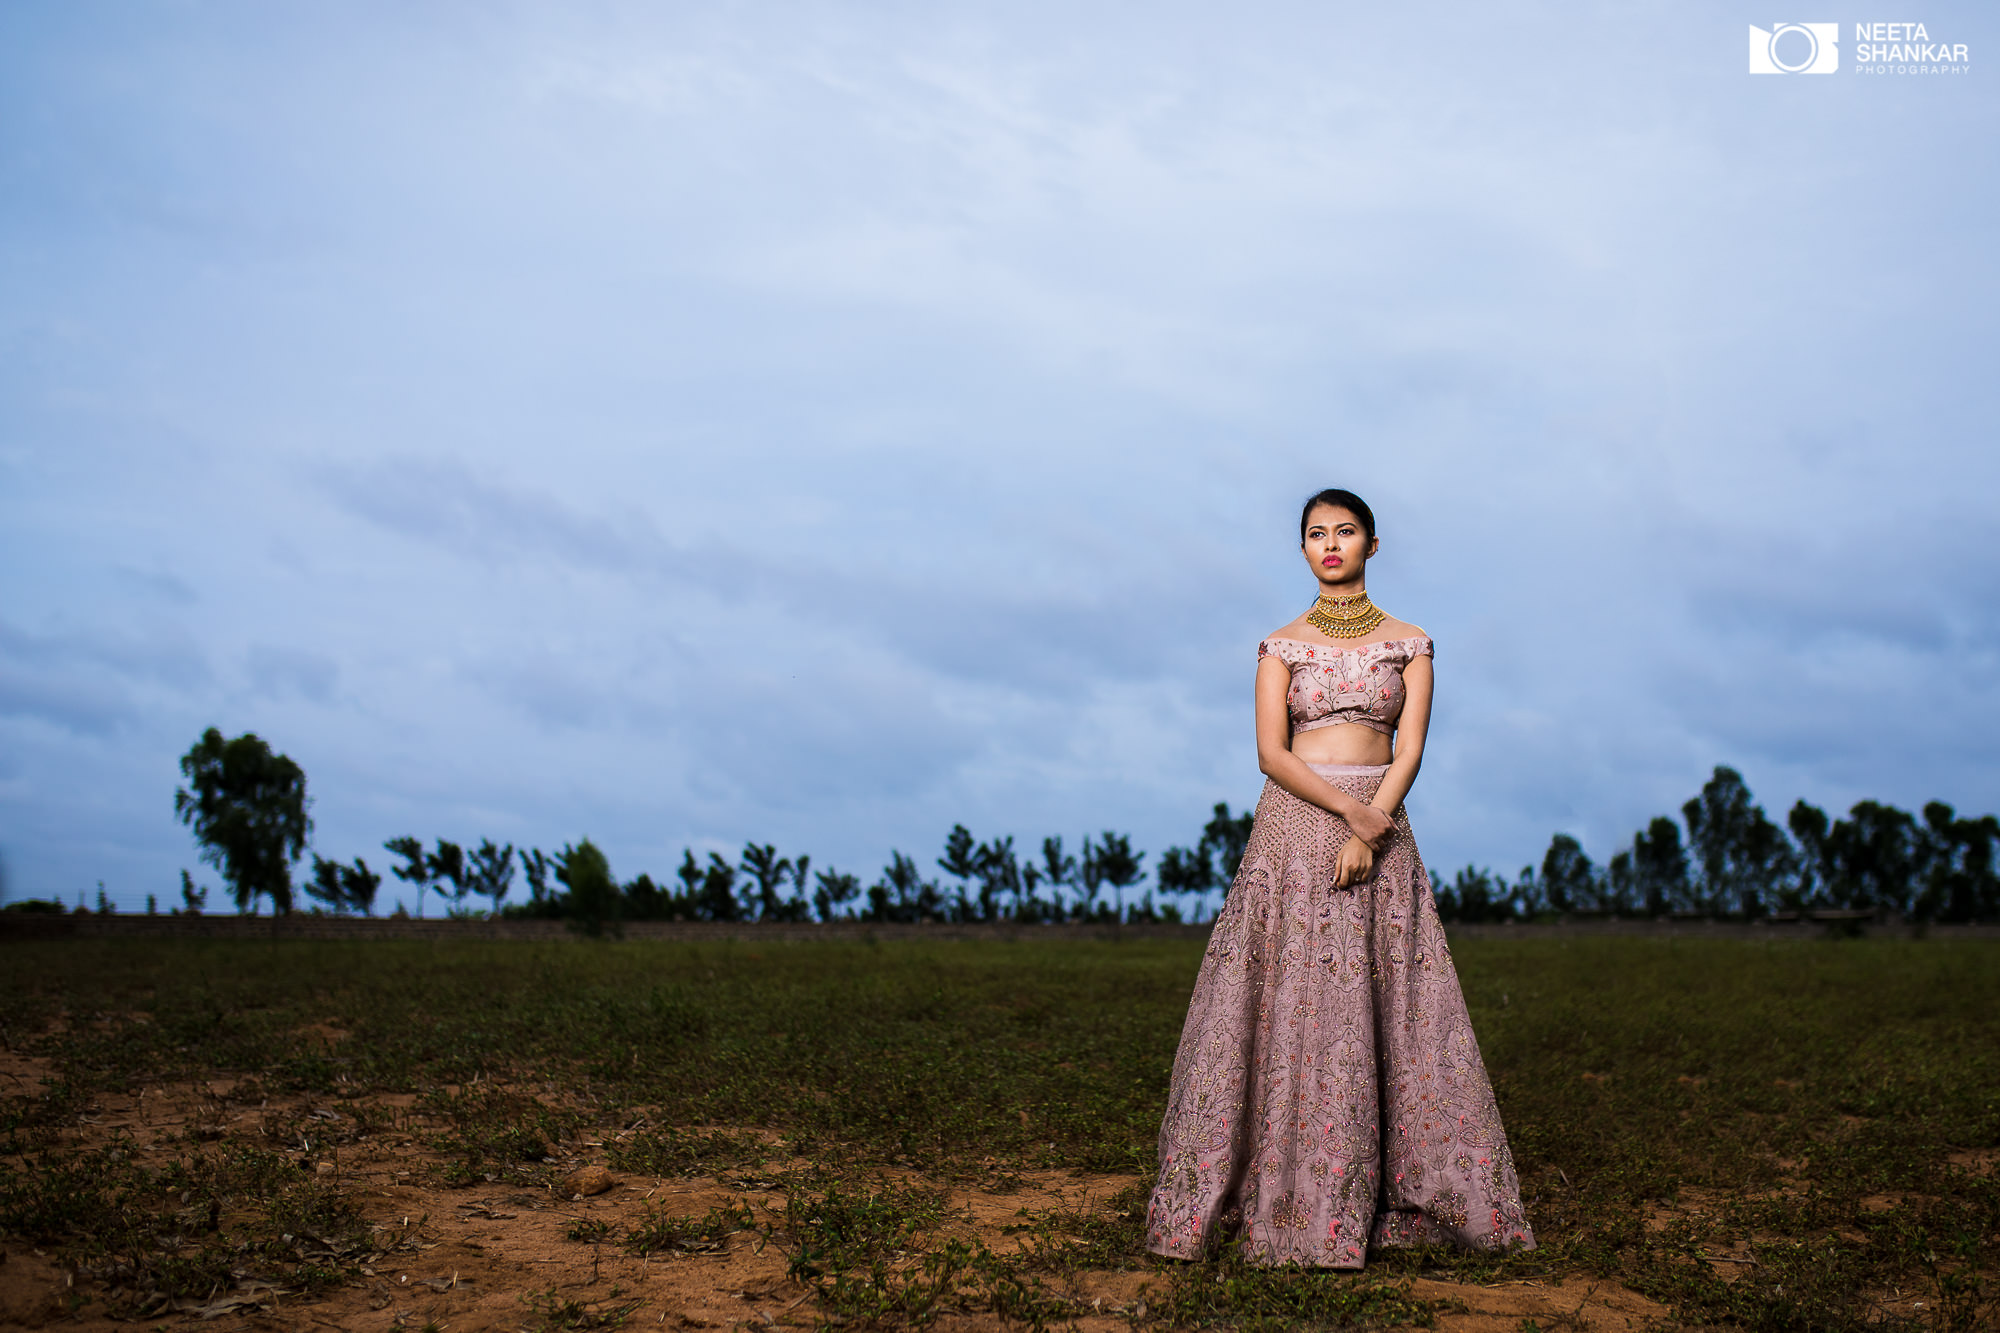
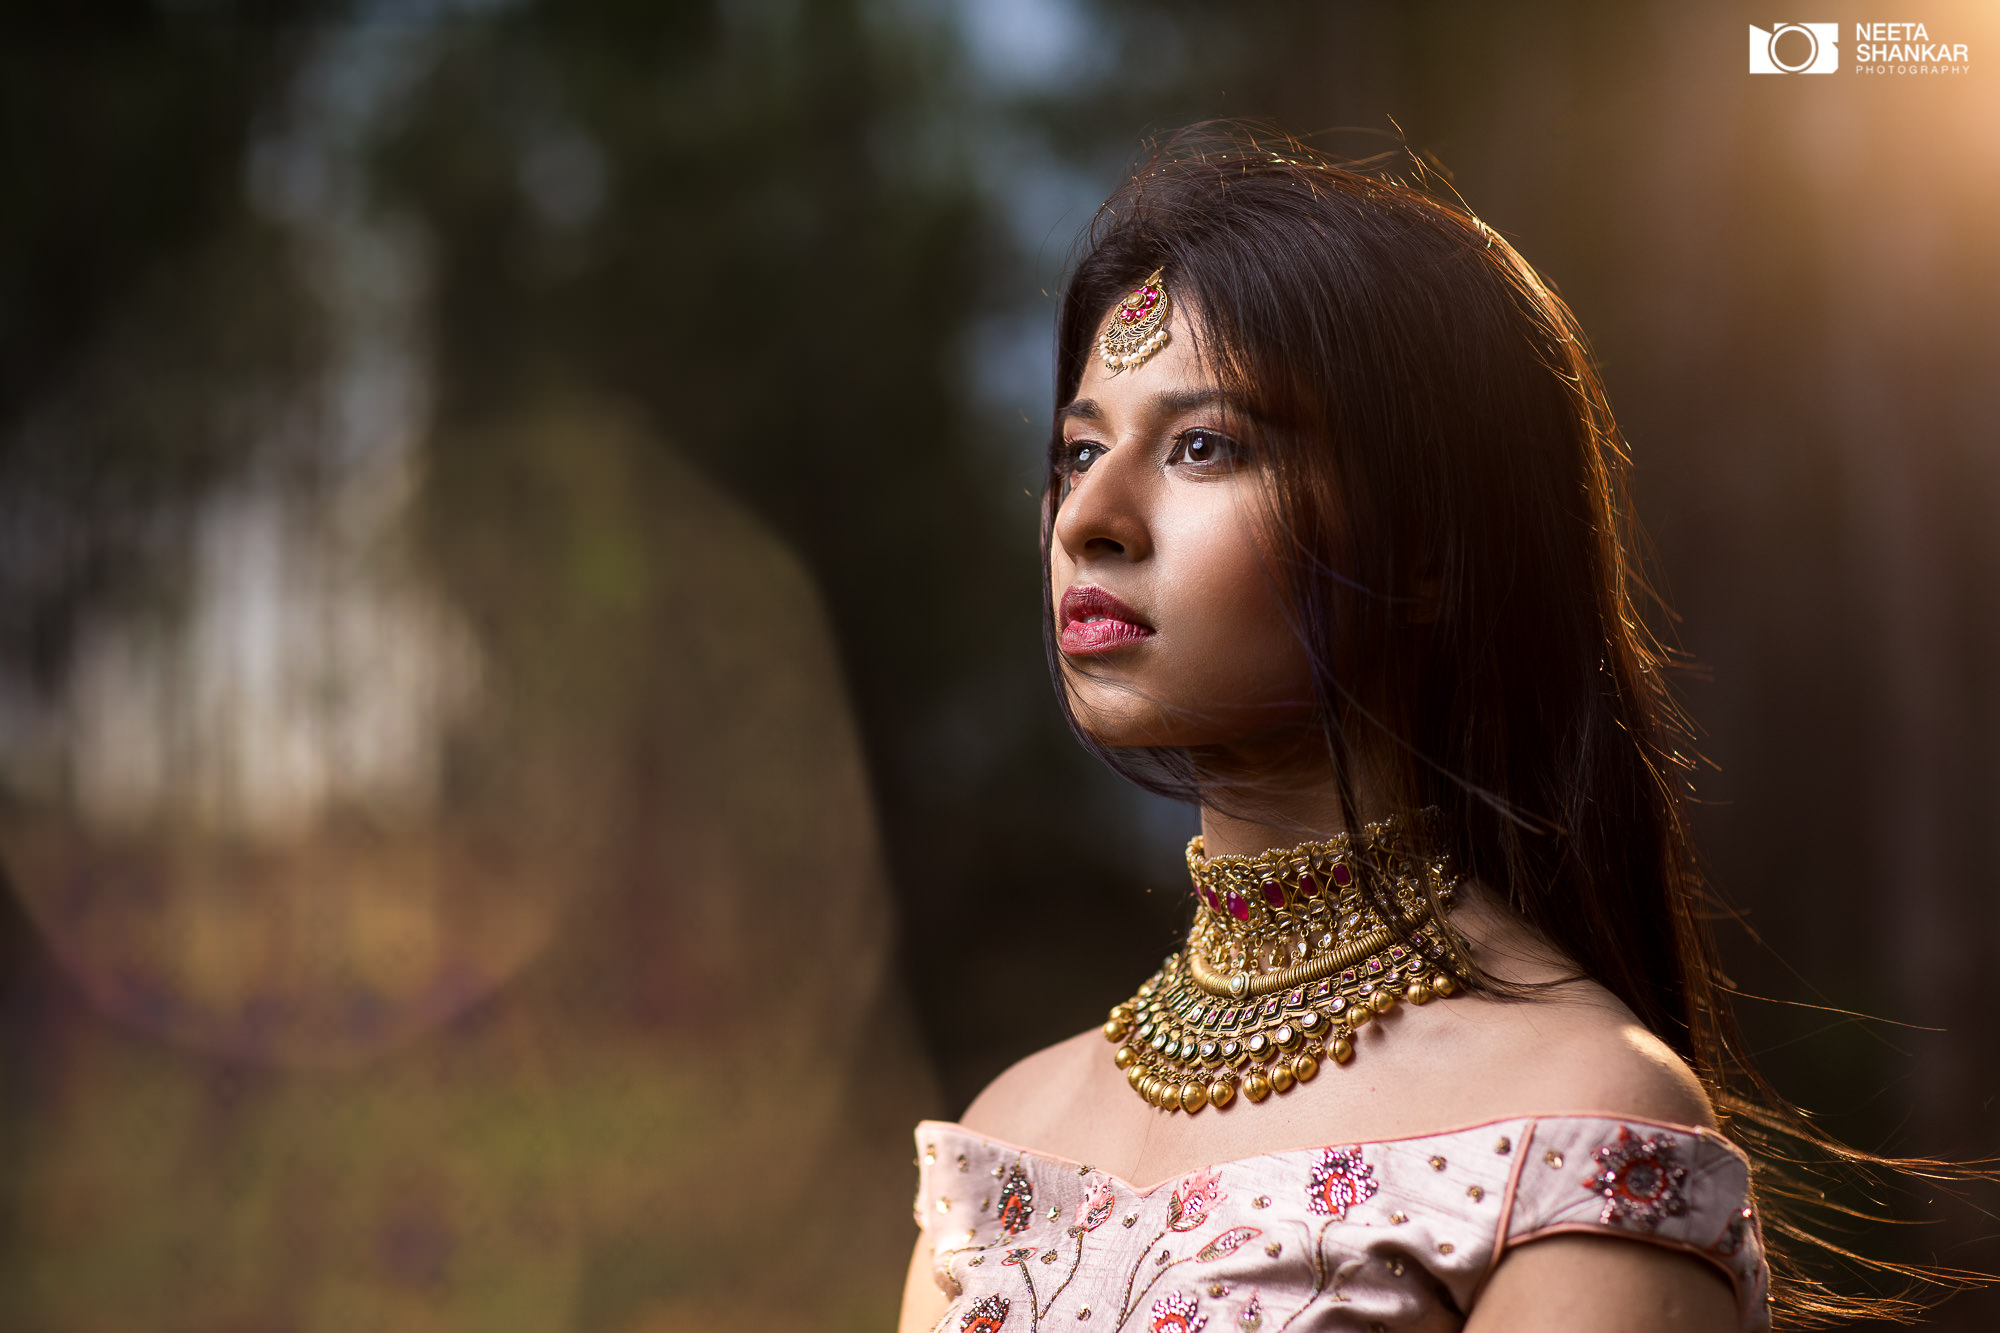
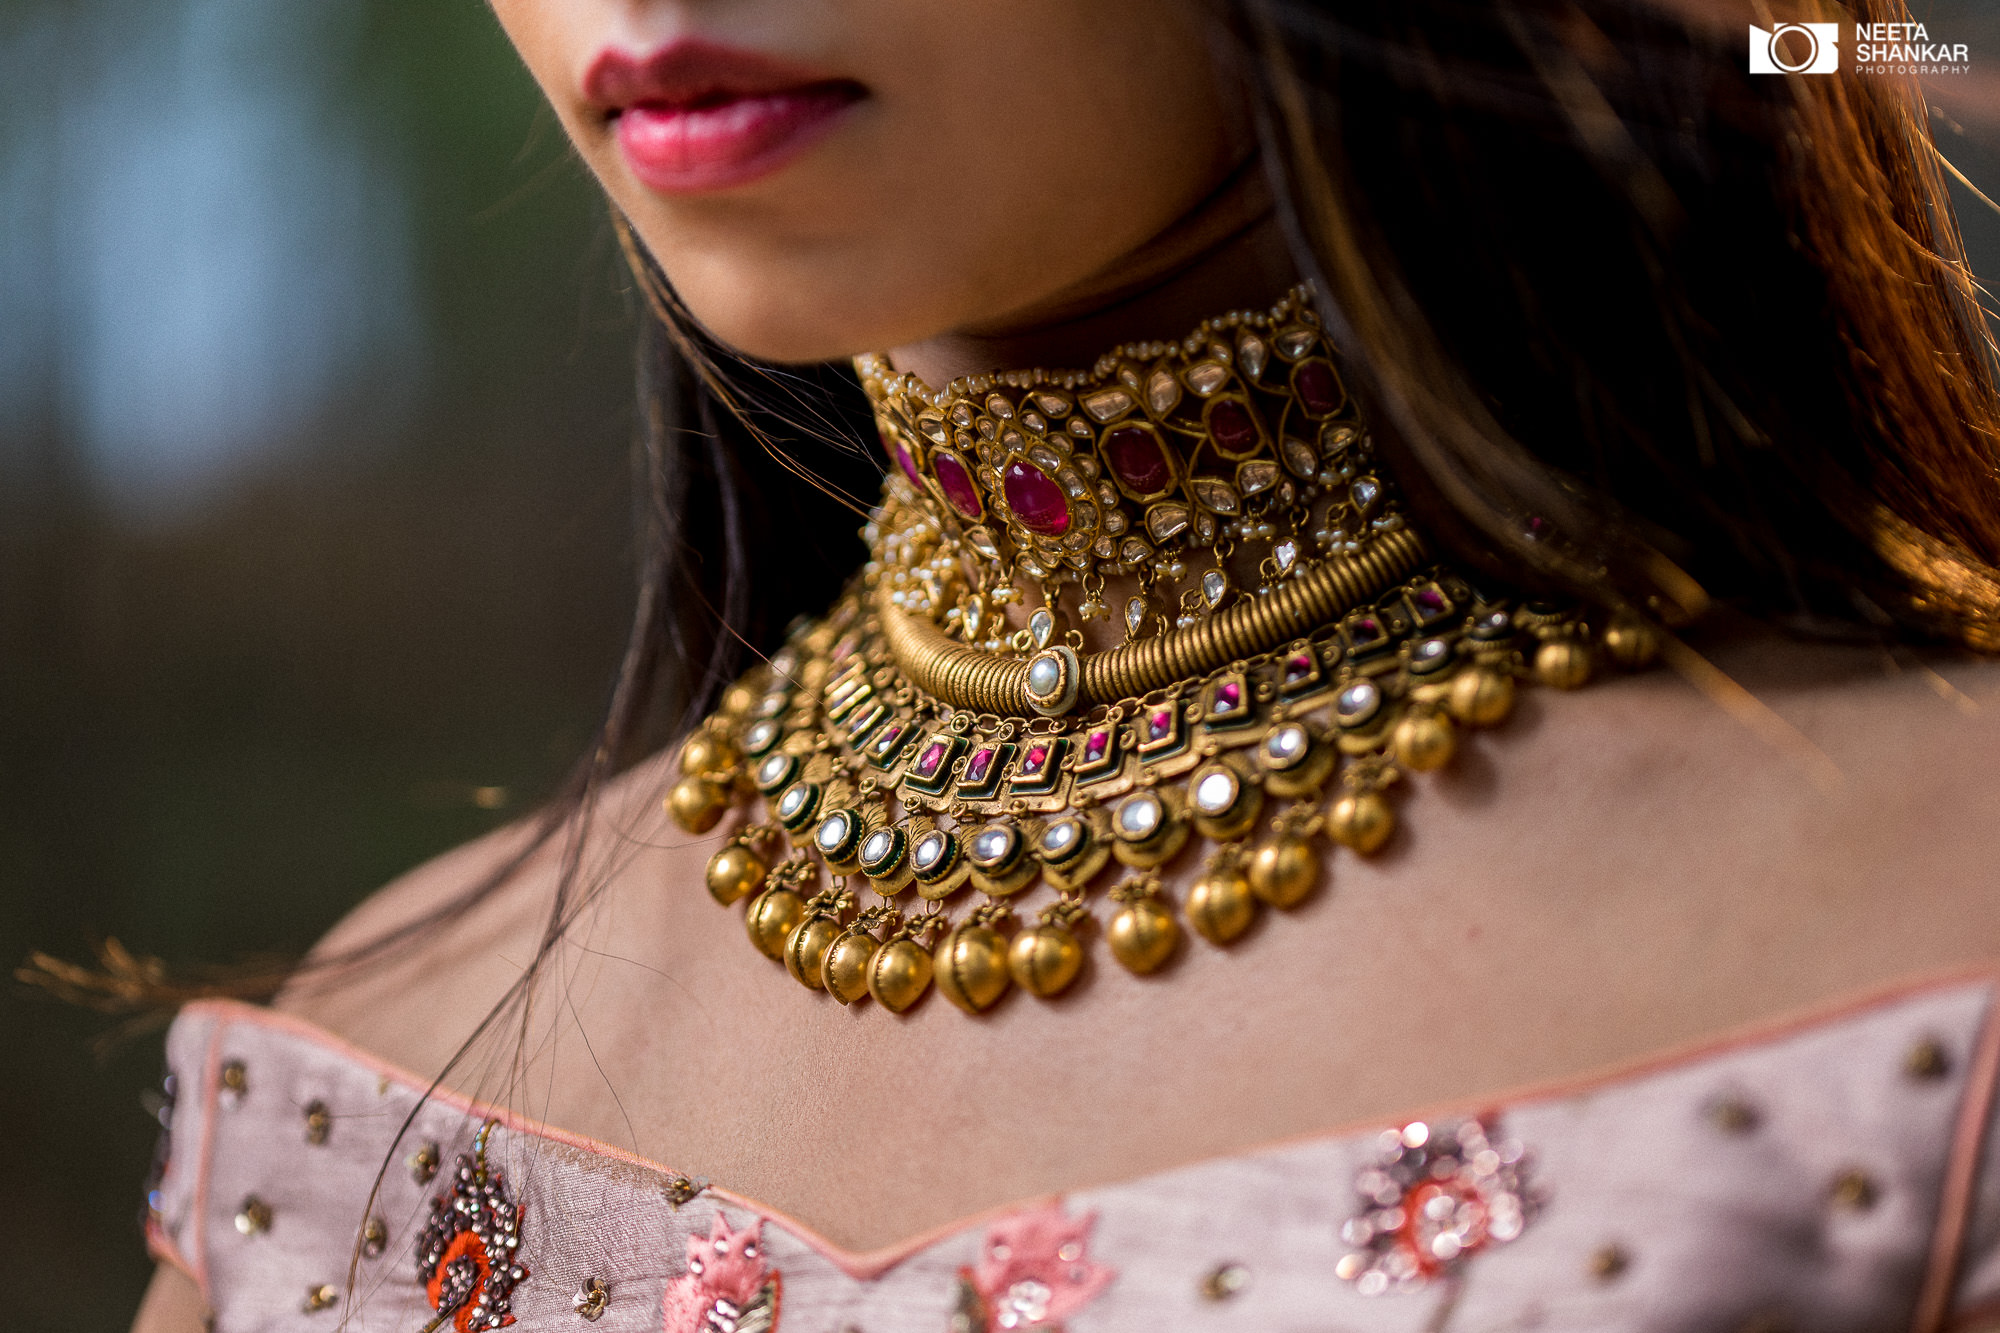
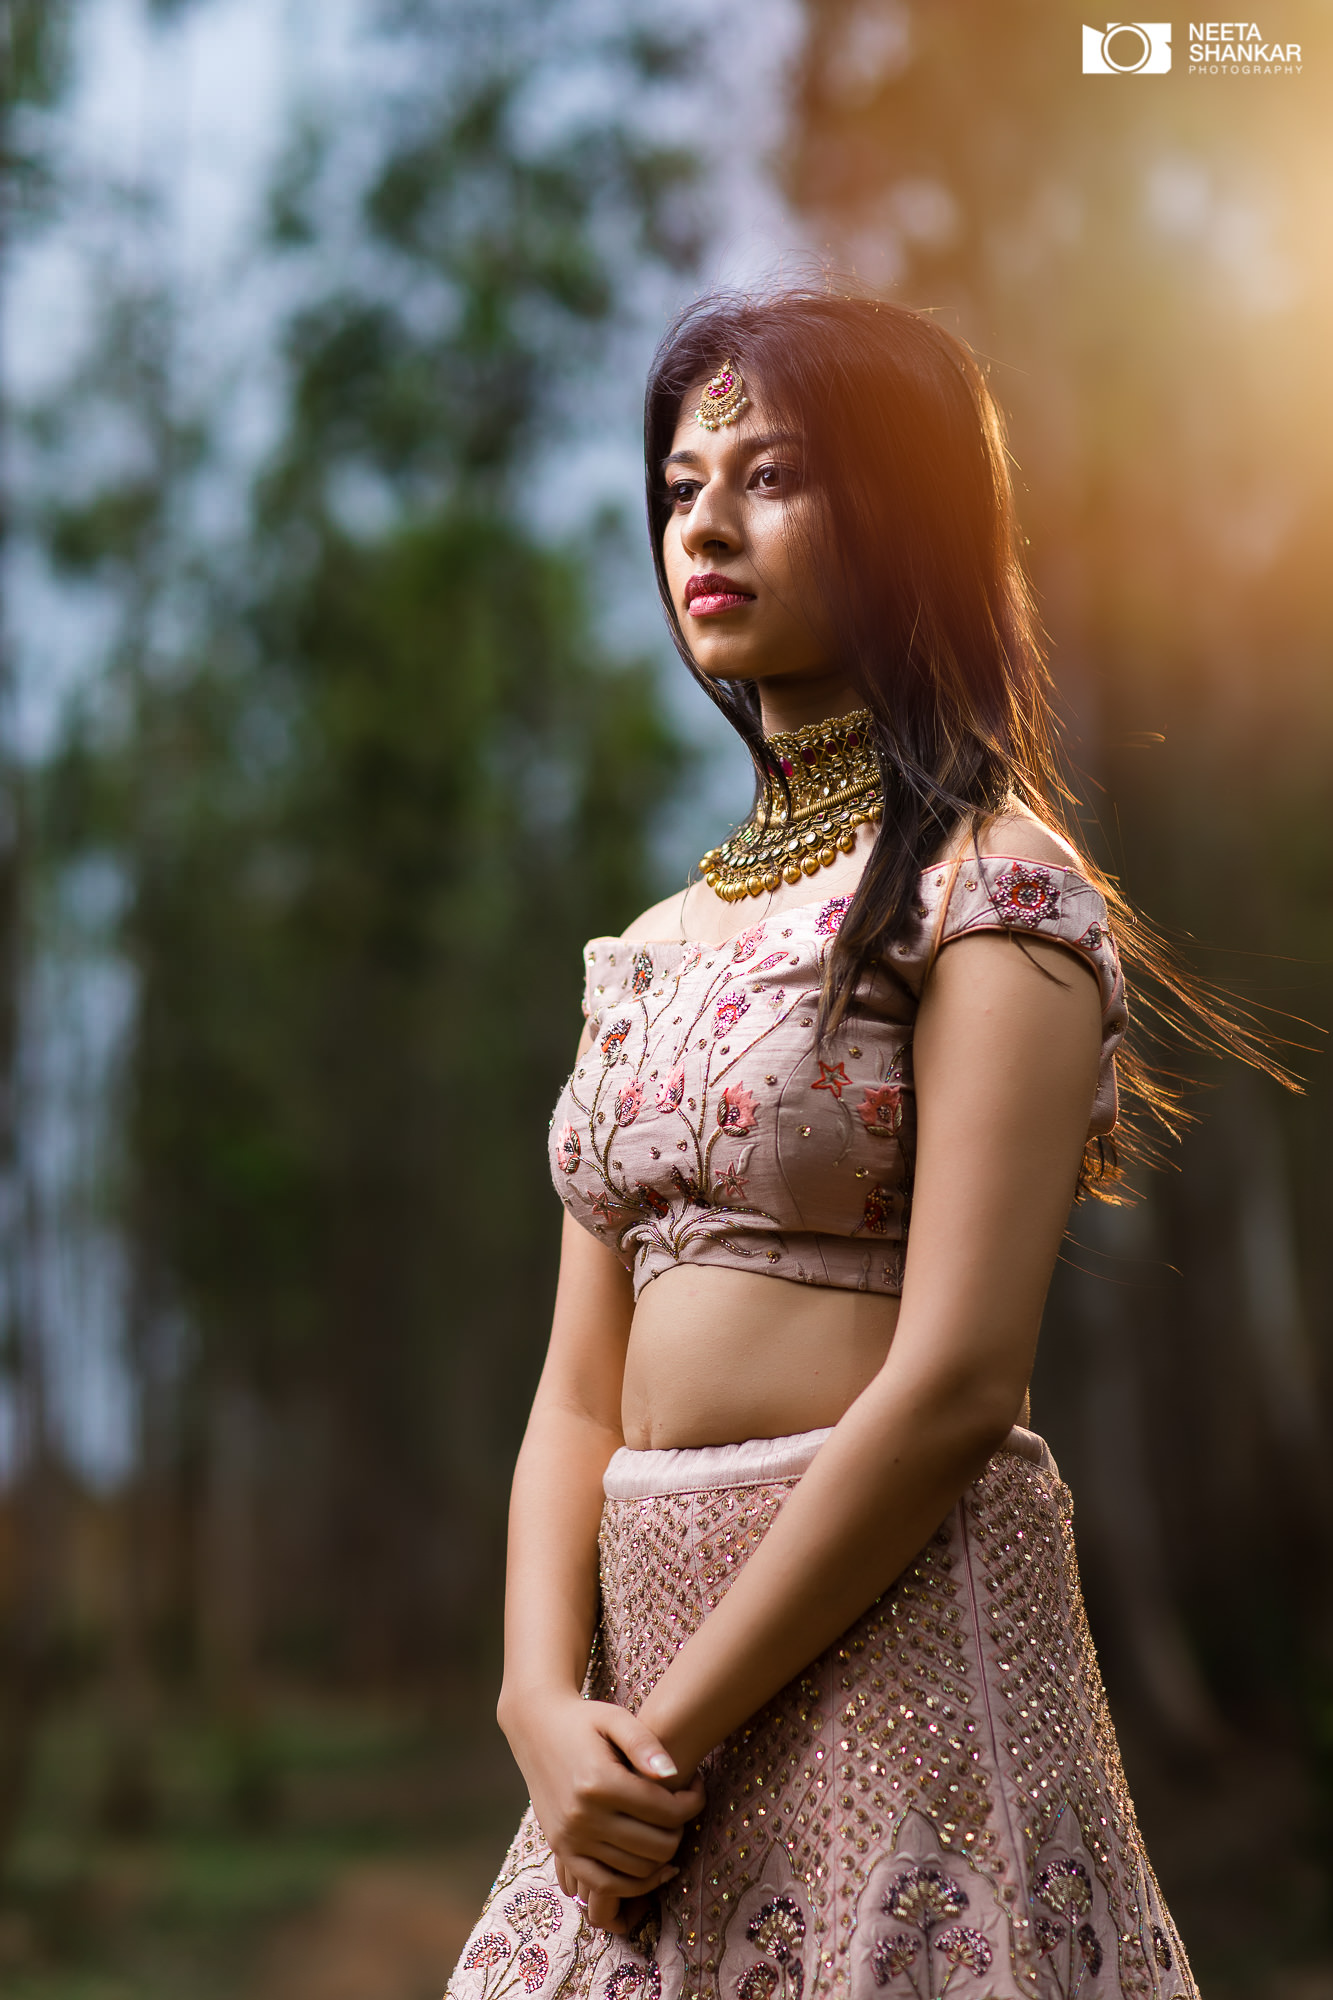
Now while the shoot could have been done without the use of external lights too, I chose to shoot with external lights for the following reasons.
To illustrate the points I mentioned above, I also shot the same using only available light. You can see both sets of images below. These images have been shot in the same scene a couple of minutes apart. And both have been post-processed in my usual style. As it was an overcast day, you can see the light is even but flat. Images shot with just available light (no flash) will often require more time to correct in post. In the image without external light, the sky is washed out because, in order to get the exposure right for the subject, the exposure on the background had to be compromised. Although both styles of photography are fine in their own way, when there is no rush, I would certainly prefer to have some control over the light. What do you think? Which one do you prefer? Leave a comment.
Bride-to-be: Shifali Gowda
Makeup Artist: Sonia Keer Dhawan
Photography: Neeta Shankar
A big thanks to Varun and Gautam for braving the winds and holding the lights steady! Thanks to Arun for the BTS video.